The digital revolution has a funny way of making us feel like we have to throw away perfectly good hardware just to keep up. You’ve upgraded your office to a shiny new IP PBX system, but you’re staring at a box of reliable, high-quality analog phones. Or perhaps you have a sprawling facility where running new Cat6 cables to every single desk is a logistical nightmare.
The good news? You don’t have to choose between legacy reliability and modern features. The secret sauce is the FXS Gateway.
In this comprehensive guide, we will dive deep into how to connect analog extension to IP PBX using FXS gateway setups, ensuring your transition to VoIP is seamless, cost-effective, and—most importantly—functional.
Understanding the Hardware: What is an FXS Gateway?
Before we get into the “how-to,” let’s clear up the “what.” In the world of telecommunications, we deal with two primary interfaces: FXO and FXS.
-
FXS (Foreign Exchange Station): This is the port that actually delivers the dial tone, battery current, and ring voltage to an analog device. Think of it as the wall jack in your home.
-
FXO (Foreign Exchange Office): This is the port that receives the line (like the port on the back of an old fax machine).
An FXS Gateway acts as a translator. It takes the analog signal from your traditional phones and converts it into digital “packets” that your IP PBX can understand. If you are looking to save costs, checking out the FXS vs FXO gateways business guide is a great starting point to understand which hardware fits your specific infrastructure.
Step 1: Pre-Configuration Essentials
You cannot just plug and play without a plan. To successfully how to connect analog extension to IP PBX using FXS gateway, you need three pieces of information:
-
The IP Address of your IP PBX: This is the destination where the gateway will “register” the phones.
-
SIP Credentials: Each analog phone will be treated as a “SIP Extension” by the PBX. You need an Extension Number and a Secret (Password) for each.
-
Network Stability: Ensure your gateway and PBX are on the same subnet or have a clear routing path. For complex setups, you might want to review how to configure VoIP gateways for multi-site connectivity.
Step 2: Physical Connectivity
The physical setup is straightforward but requires precision.
Connecting the Analog Devices
Plug your RJ11 cables (the standard thin phone wires) from your analog handsets or fax machines into the ports labeled FXS on your gateway.
Connecting to the Network
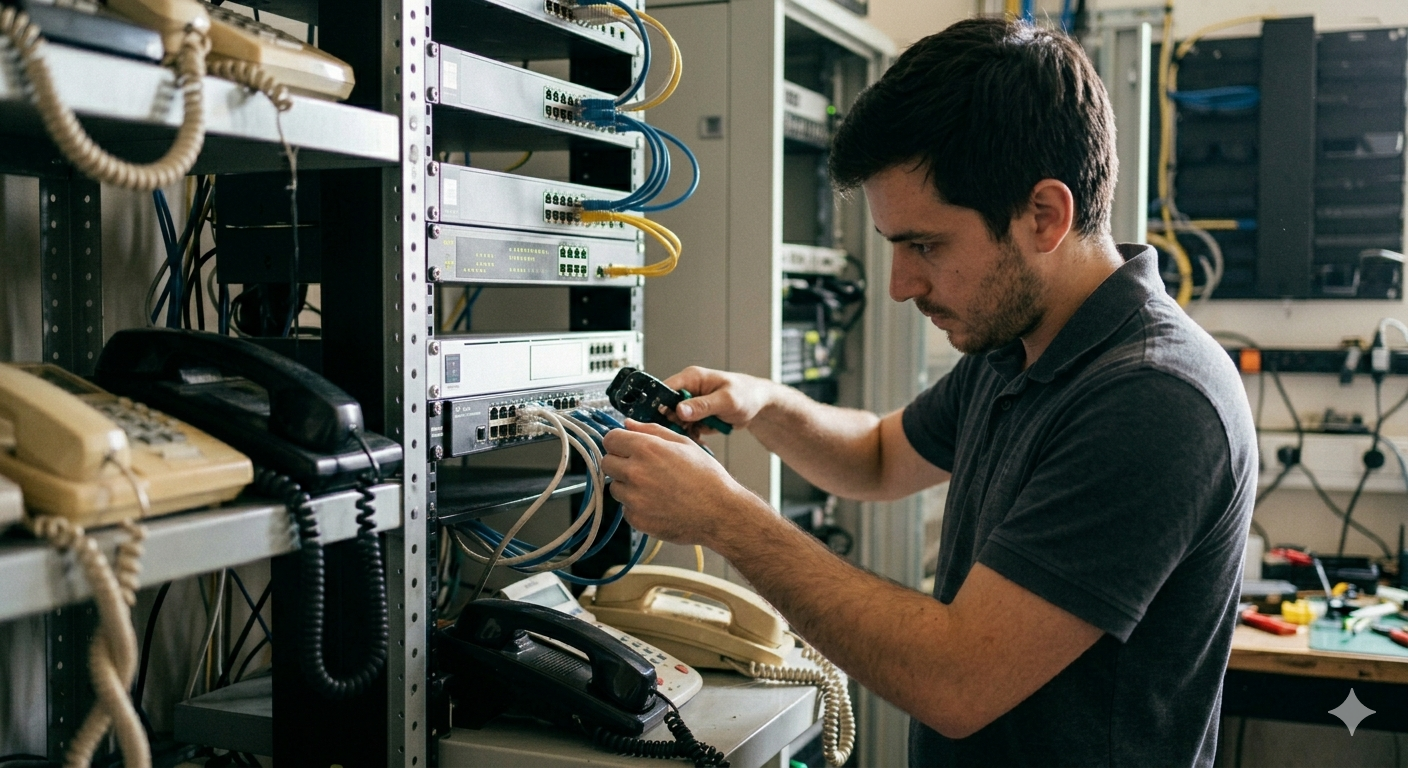
Use a standard Ethernet cable to connect the LAN port of the FXS gateway to your network switch. This allows the gateway to communicate with your IP PBX. If you are working in an industrial environment, such as a factory in Coimbatore, ensuring these connections are secure is vital for IP phone maintenance.
Step 3: Accessing the Gateway Web Interface
Most modern gateways, like those from Dinstar or Grandstream, are configured via a web browser.
-
Find the default IP address of your gateway (usually found in the manual or via a “discovery tool”).
-
Type the IP into your browser.
-
Log in using the default admin credentials. (Pro-tip: Change these immediately to prevent unauthorized access!).
If you are struggling to find the device on your network, you might need a refresher on how to find your default gateway IP address.
Step 4: Configuring the SIP Server (The Handshake)
Now comes the “brain” work. You need to tell the FXS gateway where to find the IP PBX.
Setting the SIP Proxy
Navigate to the “SIP Settings” or “Line Settings” in your gateway interface. Under the Primary SIP Server field, enter the IP address of your IP PBX. This tells the gateway: “Whenever an analog phone picks up, send the request to this server.”
Defining the Port
The standard port for SIP is 5060. Unless your IT department has changed this for security reasons, leave it as default. For those curious about the security implications of these settings, our guide on securing IP telephony covers how to prevent toll fraud during this stage.
Step 5: Registering the Extensions
This is where the magic happens. You are now going to turn “Port 1” on your gateway into “Extension 101” on your PBX.
-
Go to the Port Configuration or User Management section of the gateway.
-
Select Port 1.
-
User ID/Authenticate ID: Enter the extension number created in your IP PBX (e.g., 101).
-
Password: Enter the SIP password (Secret) generated by the PBX.
-
Display Name: Give it a name like “Reception” or “Warehouse.”
Repeat this process for every analog phone you have connected. Once you hit “Save” and “Apply,” the status light on the gateway (and the status screen on the PBX) should change to “Registered” or “Online.”
Step 6: Fine-Tuning Voice Quality
Analog phones are sensitive to “echo” and “gain.” Since you are converting an analog wave into a digital signal, you might encounter some “hiss” or “latency.”
-
Echo Cancellation: Ensure “G.168 Echo Cancellation” is enabled in the gateway settings.
-
Jitter Buffer: If your network is busy, set the jitter buffer to “Adaptive.”
-
Codecs: For the best quality, use the G.711 (PCMU/PCMA) codec. If bandwidth is tight, G.729 is a solid alternative.
Optimizing these settings is similar to configuring Fanvil IP phones for crystal clear calls; the logic of packet prioritization remains the same.
Why Not Just Buy New IP Phones?
While we often recommend Grandstream IP phones for office productivity, using an FXS gateway is a strategic move for several reasons:
1. Cost-Effectiveness
If you have 50 working analog phones, replacing them with even budget-friendly VoIP hardware can cost a fortune. An FXS gateway allows you to utilize existing assets while still getting the benefits of a cloud-based IP PBX.
2. Long-Distance Analog Runs
IP phones have a distance limit of roughly 100 meters (the limit of Ethernet). Analog phones, however, can work over several kilometers of copper wire. This makes the FXS gateway essential for large campuses or manufacturing plants.
3. Specialty Equipment
Fax machines, overhead paging systems, and door intercoms often only come in analog flavors. An FXS gateway is the only way to integrate these into a modern unified communications framework.
Troubleshooting Common Issues
Even the best experts hit a snag. Here is how to fix the most common “how to connect analog extension to IP PBX” headaches:
“I have a dial tone, but I can’t call out.”
This usually means the extension is registered, but your Dial Plan in the gateway is incorrect. Ensure the dial plan allows for the number of digits you are trying to dial.
“The phone rings, but when I pick up, there is silence.”
This is a classic NAT (Network Address Translation) issue. If your PBX is in the cloud and your gateway is behind a local firewall, you may need to enable “STUN” or “Keep-alive” settings.
“The voice is choppy.”
Check your network usage. Voice data needs priority. Implementing network infrastructure maintenance and Quality of Service (QoS) on your router can solve this.
Future-Proofing Your Setup
As we move deeper into 2026, the integration of AI and mobile connectivity is becoming standard. While your analog phones are now connected, remember that they won’t support advanced features like on-screen chatbot integration or video conferencing.
Use the FXS gateway as a bridge, not a permanent destination. As individual analog units fail, you can gradually replace them with high-performance IP phones.
Frequently Asked Questions
Can I use a fax machine with an FXS gateway?
Yes! However, ensure the gateway supports the T.38 protocol, which is designed specifically for “Fax over IP.” Without T.38, faxes often fail due to timing issues on digital networks.
How many analog phones can I connect to one gateway?
FXS gateways come in various sizes, typically starting at 2 ports and going up to 48 or 96 ports per unit. For large-scale needs, you can stack multiple gateways.
Will my analog caller ID still work?
In most cases, yes. You will need to match the “Caller ID Scheme” in the gateway settings to the standard used in your region (e.g., Bellcore or ETSI).
Is the setup different for a cloud PBX vs. an on-premise PBX?
The physical connections are identical. The only difference is that for a cloud PBX, you will use a Domain Name (FQDN) instead of a local IP address in the SIP Server field, and you must ensure your firewall allows the traffic.
What happens if the internet goes down?
Since analog phones connected via a gateway rely on the network to reach the PBX, they will lose service if the local network fails. For critical areas, consider a hybrid IP EPABX which can have a failover to traditional copper lines.
Conclusion
Learning how to connect analog extension to IP PBX using FXS gateway technology is a vital skill for any business owner or IT manager looking to modernize without waste. By following the steps of physical connection, SIP registration, and voice optimization, you can breathe new life into your legacy hardware.
Whether you are setting up a small office in Coimbatore or managing a large call center infrastructure, the FXS gateway remains the most reliable bridge between the analog past and the digital future.