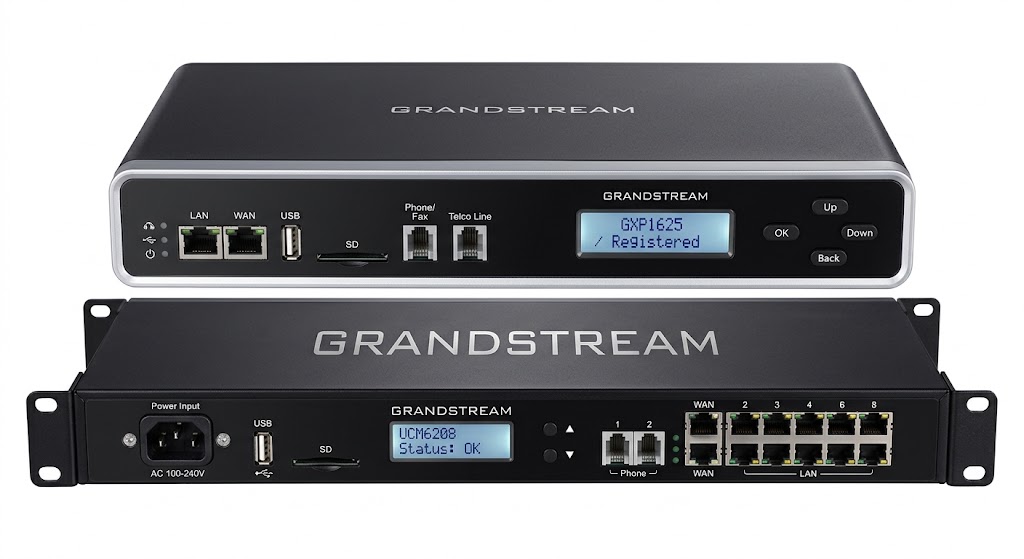
Transitioning to a modern communication setup often feels like learning a new language. You’ve invested in a Grandstream UCM series IP PBX—perhaps the UCM6200 or the robust UCM6300—and now you’re standing at the edge of the most critical step: connecting it to the outside world.
In the old days, you’d wait for a technician to physically wire a phone line into your building. Today, we use SIP Trunks. Think of a SIP trunk as a digital version of a phone line that runs over your internet connection. It’s flexible, cost-effective, and powerful. However, one wrong setting can lead to the dreaded “one-way audio” or “calls dropping” scenarios.
Whether you are a startup looking for small business phone systems IP PBX in Coimbatore under 50k or a large enterprise optimizing high-performance call center infrastructure, this guide will walk you through the configuration process like a pro.
Understanding the SIP Trunk Advantage
Before we dive into the technical buttons, let’s address the “why.” Why are businesses in Chennai and Coimbatore moving away from traditional lines?
The pain points of analog systems are well-documented: high monthly rentals, limited channels, and a lack of scalability. By configuring a SIP trunk on your Grandstream, you unlock features like DID (Direct Inward Dialing), better voice quality, and significant cost savings. If you are still on the fence, check out how others reduced communication costs by 40% with IP EPABX.
Phase 1: Pre-Configuration Checklist
Before logging into your Grandstream web interface, you need specific data from your ITSP (Internet Telephony Service Provider). Without these, you’ll be shooting in the dark.
Information You Need:
-
SIP Server/Proxy Address: (e.g., sip.provider.com)
-
SIP User ID and Authenticate ID: Usually your main pilot number.
-
Password: A complex string provided by the ISP.
-
Static IP Details: Ensure your Grandstream has a stable internal IP.
-
Firewall Ports: Ensure Port 5060 (UDP/TCP) and RTP ports are open.
If you are managing a complex network, refer to our network infrastructure maintenance guide to ensure your router isn’t blocking your voice traffic.
Phase 2: Creating the SIP Trunk in Grandstream UCM
Now, let’s get into the Step-by-step guide to configure SIP trunk on Grandstream IP PBX.
Step 1: Accessing the Interface
Open your browser and enter the IP address of your Grandstream UCM. Login with your admin credentials. If this is your first time, you might want to look at a step-by-step setting up an IP EPABX system for general hardware tips.
Step 2: Adding the Trunk
Navigate to Extension/Trunk > VoIP Trunks. Click on “Add SIP Trunk”.
Step 3: Basic Settings
-
Type: Most modern providers use “Register-based.” If you have a dedicated fiber line from a provider like Airtel or BSNL, they might use “IP-based.”
-
Provider Name: Give it a recognizable name (e.g., “Airtel_SIP”).
-
Host Name: Enter the SIP Server address provided by your ISP.
-
Username & Password: Enter the credentials provided.
Step 4: Troubleshooting NAT
One of the biggest “pain points” for IT managers is the silence on the other end of a call. This is usually a NAT (Network Address Translation) issue. Under the Advanced Settings of your trunk, ensure “NAT” is set to “Yes” if your PBX is behind a router. This ensures the VoIP PBX for small business knows how to route packets back to your local network.
Phase 3: Outbound Routes – Telling the PBX How to Dial
Creating the trunk is only half the battle. Now you need to tell the Grandstream when to use it.
Defining Dial Patterns
Go to Extension/Trunk > Outbound Routes. Click Add.
-
Calling Rule Name: “Outbound_All”
-
Pattern: For India, you might use
_X.to allow any number, or_0X.to force a zero prefix. -
Privilege Level: Set this carefully. You don’t want every extension making international calls if they don’t need to.
This setup is vital for optimizing voice quality because it prevents call routing delays.
Phase 4: Inbound Routes – Where Do the Calls Go?
When someone dials your business number, where should it ring? The receptionist? An IVR? A ring group?
Setting Up the Destination
Go to Extension/Trunk > Inbound Routes.
-
Trunk: Select the SIP trunk you just created.
-
DID Pattern: You can use
!to catch all incoming calls or specify a number. -
Default Destination: This is where you choose your ACD or IVR backbone.
For many offices in Coimbatore, setting up a professional IVR greeting is the first step in transforming business communication.
Phase 5: Testing and Optimization
Once configured, go to Dashboard > Trunk Status. If the dot is green, congratulations! You are registered.
Addressing Common Pain Points:
-
One-Way Audio: Check your RTP port range (usually 10000-20000) and ensure they are forwarded in your router.
-
Registration Failed: Double-check your password. SIP passwords are case-sensitive and often contain confusing characters.
-
Call Drops: Check your internet stability. For businesses with high call volumes, a dedicated cloud telephony service or a high-speed fiber line is mandatory.
Why Local Expertise Matters
While this guide provides the technical steps, every network environment is unique. A setting that works in a Chennai IT park might need adjustment in a manufacturing plant using IP speakers.
If you find yourself stuck, it’s often cheaper to hire a professional for a one-time setup than to lose days of business due to a faulty phone system. You can find EPABX dealers in Coimbatore who specialize in Grandstream and Matrix configurations.
Summary Checklist for a Successful SIP Configuration
| Step | Action Item | Key Detail |
| 1 | Gather Credentials | Server IP, Username, Password. |
| 2 | Network Prep | Open Port 5060 and RTP range. |
| 3 | Trunk Setup | Set to “Register” or “IP-based”. |
| 4 | Outbound Rules | Define patterns (e.g., _X.). |
| 5 | Inbound Rules | Direct calls to IVR or Extension. |
| 6 | Maintenance | Schedule a quarterly PBX checkup. |
Frequently Asked Questions
Can I use multiple SIP trunks on one Grandstream UCM?
Absolutely. One of the best features of Grandstream is the ability to have multiple trunks. You could have one for local calls and another for international VoIP call center solutions to save on costs.
What is the difference between an IP-based and Register-based trunk?
A Register-based trunk requires a username and password (common for cloud providers). An IP-based trunk (often used by local ISPs like Airtel/BSNL) authenticates based on your Static IP address and doesn’t require a login.
My SIP trunk is registered, but I can’t receive calls. Why?
This is usually an Inbound Route issue. Ensure your DID pattern matches what the service provider is sending. Sometimes providers send the full 10 digits, while others send only 4.
Do I need a specific IP phone for this?
No, any standard SIP phone will work. Popular choices in the region include Grandstream, Asttecs, and Flyingvoice.
How do I secure my SIP trunk from hackers?
Toll fraud is a real threat. Always use strong passwords, restrict outbound calls to specific countries, and follow a secure IP telephony guide to protect your billing.
Final Thoughts on Modern Telephony
Configuring a SIP trunk is the gateway to a truly hybrid IP EPABX environment. It allows your team to work from anywhere while maintaining a professional local presence. By following this Step-by-step guide to configure SIP trunk on Grandstream IP PBX, you’ve moved your business one step closer to seamless, modern connectivity.
Need help with a local installation? Whether you’re looking for EPABX service providers in Coimbatore or want to upgrade from analog to IP, getting the foundation right today will save you countless headaches tomorrow.